A few years ago, after installing Ubuntu server for the 100th time, I thought how cool it would be to automate the build. I also had some some inspiration from my workplace and the tooling that was used.
I personally build mostly Ubuntu servers, so that is what this will be focused on. My other systems, like Windows or other distros are infrequent but I hope to add them to add them to my catalog.
The code
I created this script which is on GitHub here. It is somewhat customized to my situation, but I hope to grow it into something more modular.
First I built this around the idea of having IPAM data in Phpipam, and a supplemental mysql database. Also once the VM is built, I have the option to add the VM to Librenms.
To run the code, first need to fill in the secret file here. This is imported by the various python files, to use as credentials.
Then to run the script there are a few command line inputs:
--template_id TEMPLATE_ID proxmox template ID to clone

--new_vmid NEW_VMID VM ID of new cloned vm

--new_vm_name NEW_VM_NAME name of new vm

--ipam_section IPAM_SECTION ipam section, enter ipv4 or ipv6
--disk_size DISK_SIZE disk size of disk after clone

--add_librenms ADD_LIBRENMS add device to librenms after vm is booted. new_vm_name to be set

--vlan_id VLAN_ID vlan ID assignment for VM and DB lookup
The vlan id field is used to query the mysql database, to get the correct IPv4 and IPv6 address assignment. The vlan then is updated on the cloned VM with this information as well.
The database table looks like this below as an example:
vlan_id | subnet | subnet_gateway | subnet_mask
---|---|---|--
2 | 192.168.2.0 | 192.168.2.1 | 24
Creating the image
First to start, Ubuntu offers specific images for cloud init here. Find the release, and architecture you need. In my example I used wget to download directly to Proxmox:
wget https://cloud-images.ubuntu.com/releases/22.04/release/ubuntu-22.04-server-cloudimg-amd64.imgNext create the VM that we will use as a template. The memory and network are just place holders, my script updates these parameters when the clone happens:
qm create 302 --memory 2048 --name kptdc-ubuntu-22.04 --net0 virtio,bridge=vmbr4,tag=10Now import the downloaded img file as a disk to the VM. Note this will be now an unused disk in the GUI:
#Syntax: qm importdisk "vmID" "image-file-name" "storage-lvm-name"

#My example:

qm importdisk 302 ubuntu-22.04-server-cloudimg-amd64.img compute2-zvol-vm1

<abbreviated output>
transferred 2.2 GiB of 2.2 GiB (100.00%)
Successfully imported disk as 'unused0:compute2-zvol-vm1:vm-302-disk-0'
With it attached to the VM, now convert it to a real disk
#Syntax:
qm set 302 --scsihw virtio-scsi-pci --scsi0 "lvm-disk-name:vm-disk-name" (which was created in the last command)

#My example:
qm set 302 --scsihw virtio-scsi-pci --scsi0 compute2-zvol-vm1:vm-302-disk-0
Now adding a cloud init drive:
qm set 302 --ide2 compute2-zvol-vm1:cloudinit
update VM 302: -ide2 compute2-zvol-vm1:cloudinit
And some final settings:
#Make scsi drive bootable:

qm set 302 --boot c --bootdisk scsi0

#Attach a display:

qm set 302 --serial0 socket --vga serial0
Now it time to utilize the custom cloud init configuration. Cloud init supports 3 different types of configuration files:
- user
- network
- meta
These allow you expand configuration that is not available within the GUI of Proxmox. A lot of good information is available here of all the possibilities.
My main goal is to install packages which I apply to all VMs, some iptables statements for QoS, and finally copying over some configuration files for several of the services. This is my example file.
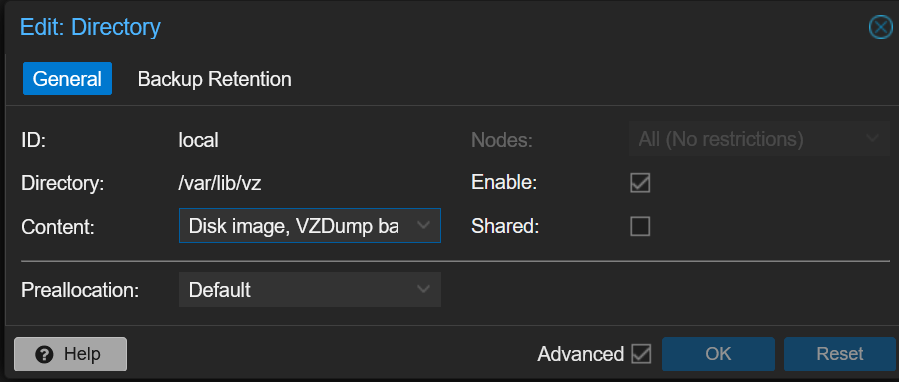
Any of the custom cloud init files, need to exist on a data store which is enabled for snippets. By default the local storage is enabled for this, and the location would be /var/lib/vz/snippets
The last step of this is to associate the custom file with cicustom utility. For example:
qm set <VM_ID> --cicustom "user=local:snippets/user.yaml"

Example:

qm set 302 --cicustom "user=local:snippets/user.yaml"
Running the code
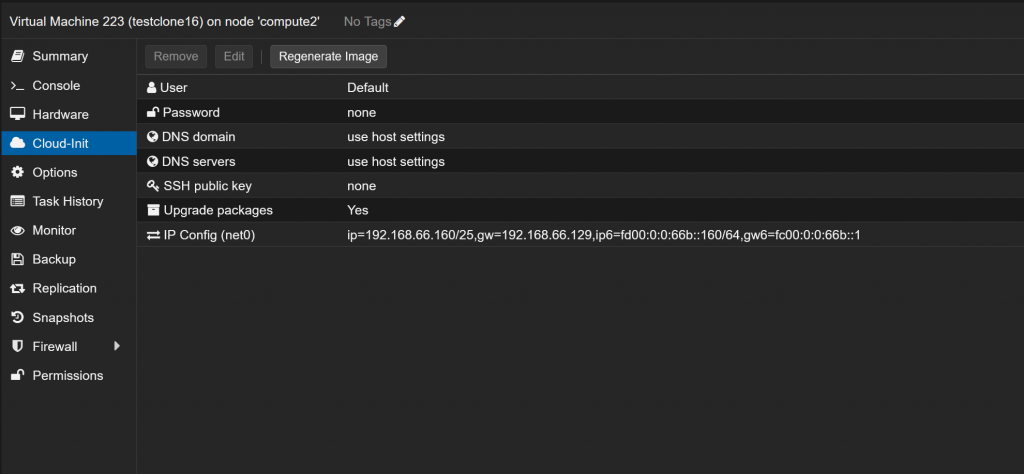
python3 build_vm_.py --template_id 302 --new_vmid 223 --new_vm_name testclone16 --disk_size 20G --vlan_id 66
Connecting to database prdkptdb01.internal.keepingpacetech.com

Running Query on database for vlan 66
IPv4 network found:  {'network': '192.168.66.128', 'gateway': '192.168.66.129', 'subnet_mask': '25'}
IPv6 network found:  {'network': 'fd00:0:0:66b::', 'gateway': 'fc00:0:0:66b::1', 'subnet_mask': '64'}

Running clone vm
checking vm status 223
clone
VM is still locked
checking vm status 223
VM is still locked
checking vm status 223
VM is still locked
checking vm status 223
VM is still locked
checking vm status 223
VM is still locked
checking vm status 223
VM is still locked
checking vm status 223
VM is still locked
checking vm status 223
VM is still locked
checking vm status 223
vm must be cloned
was able to write IP to IPAM
A few details on what the script does. First, there seems to be documented cases where when a custom file is used, Proxmox does not update the host name automatically. From a great post on the Proxmox forums, I found that you can set the host name via the smbios settings available the options in Proxmox.
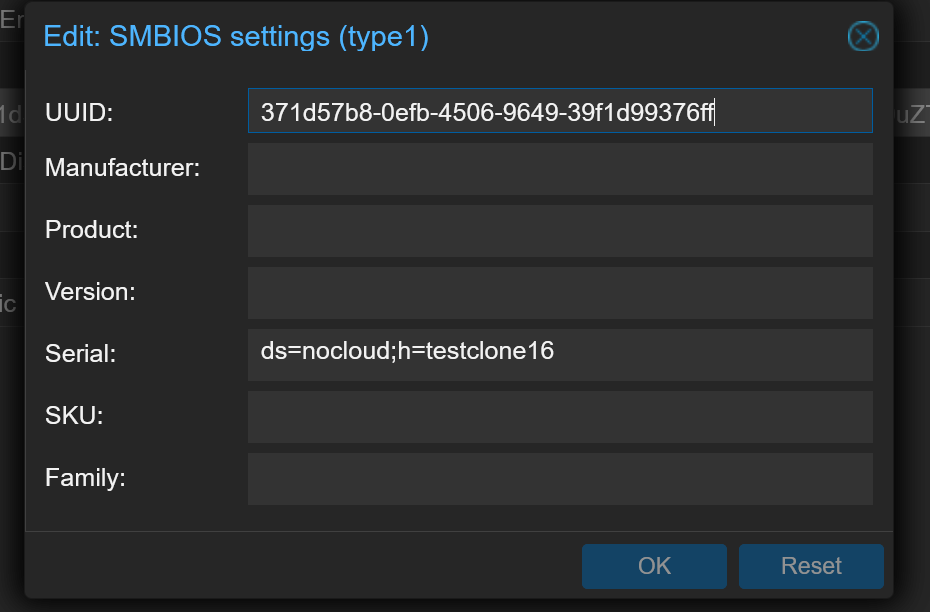
The script will read the UUID of the cloned vm, and set it again with a rest call. Also with the serial, here we can set the host name. Then of course, it sets the cloud init config with the network settings that I choose in the development.
Now the fun part! Time to boot the VM, and if you watch the console it will eventually stop scrolling and have a line “cloud-init reached target” if all was successful. Enjoy your freshly built and customized vm!